Step-by-Step Guide to Launching Your First Website (Domain, Hosting, SSL & Setup)
Learn how to launch your first website step by step. This guide covers domain registration, hosting setup, website creation, SSL installation, and professional email setup for beginners.

Launching your first website may seem difficult at first. It involves several steps and challenges, but with the right guidance, anyone can do it successfully. Whether you want to create a personal blog, portfolio, business website, or online store, understanding the basics before getting started is very important.
Before launching your website, you should clearly understand its purpose and goals. Knowing why you are creating the website will help you choose the right platform, hosting, design, and features. It will also make future upgrades and improvements much easier.
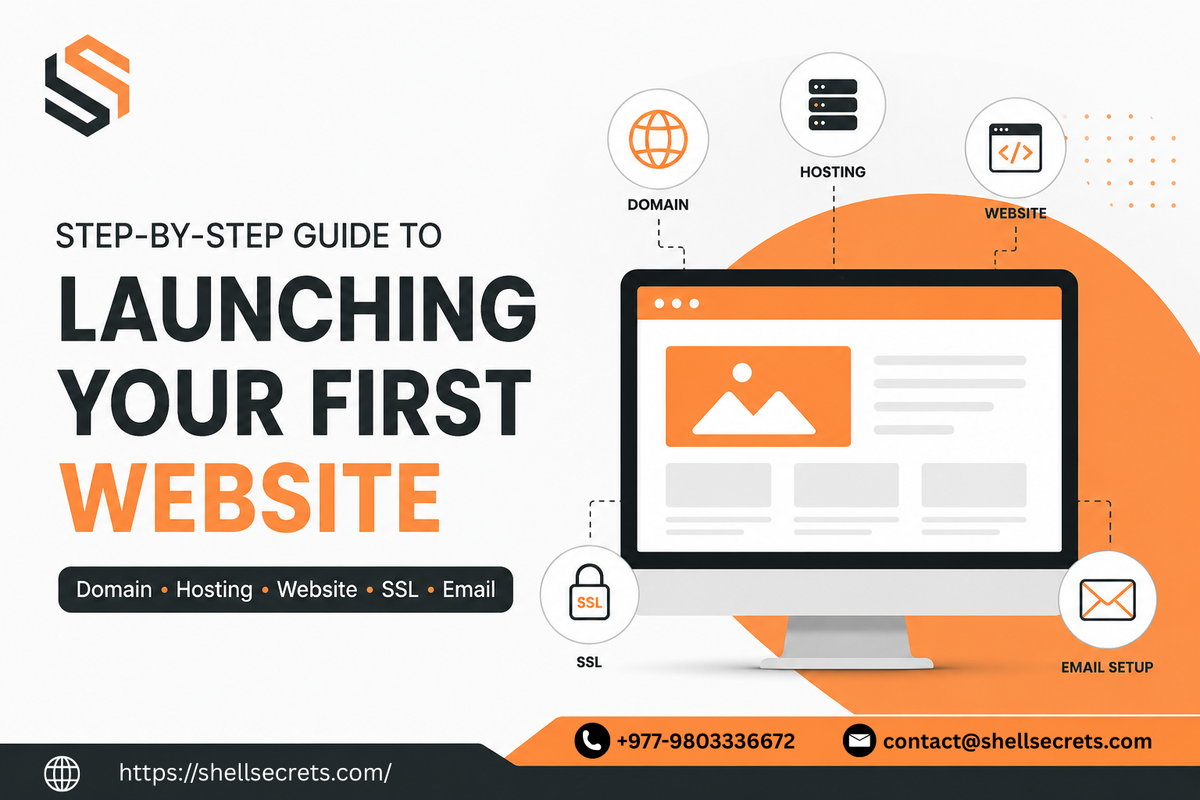
In this article, I will guide you through the complete process of setting up your first website. By the end of this guide, you’ll know how to:
- Register a domain name
- Choose the right hosting
- Select the best website technology
- Create and launch your website
- Install SSL security
- Set up a professional business email
1. Plan Your Website
Everyone has a proper reason and plan for creating a website. People usually create websites with a specific goal in mind, whether it is for a business, personal brand, portfolio, blog, or online store. Creating a website without a clear plan or purpose often leads to poor results and long-term failure. A well-planned website is easier to manage, grow, and improve in the future.
Before buying anything, always remember:
- What type of website are you creating?
- Who is your target audience?
- What features do you need?
Example;
| Website Type | Best Option |
|---|---|
| Personal Blog | WordPress |
| Business Website | WordPress / HTML |
| Web App | Node.js / Django |
| Portfolio | HTML/CSS |
| E-commerce | WordPress + WooCommerce |
Or you may choose a different framework, such as Next.js, React, or Vue, if you want a more customized website.
2. Register a Domain Name
A domain name is one of the most important parts of your website. It acts as your website address and also represents your brand identity online. Choosing the right domain name is very important because it helps people find, remember, and trust your website more easily.
A good domain name should be simple, memorable, easy to spell, and relevant to your business or website's purpose. Selecting the right domain from the beginning can help your website grow more successfully in the future.
Examples:
- example.com
- mybusiness.com
- portfolio.net
Tips for Choosing a Good Domain
- Keep it short and memorable
- Avoid numbers and hyphens
- Use a
.comextension if possible - Match your business or brand name
Steps to Register
- Visit ShellSecrets Domain
- Search for your desired domain
- Check availability
- Add to cart
- Purchase for 1–5 years
- Enable auto-renewal
3. Choose Web Hosting
Web hosting is one of the most important and often most challenging decisions for every website owner. It is the service that stores your website files and makes your website accessible on the internet.
Choosing the right hosting provider is very important because it directly affects your website’s speed, performance, security, and reliability.
For beginners, it is recommended to choose a reliable and easy-to-manage hosting service. One option you can consider is ShellSecrets, which offers hosting solutions suitable for new website owners.
Type of Hosting Provided by Shellsecrets
| Hosting Type | Best For | Recommended Links |
|---|---|---|
| Shared Hosting | Beginners | WordPress Hosting |
| VPS Hosting | Medium websites | VPS Hosting |
| Cloud Hosting | Growing projects | Cloud Hosting |
| Dedicated Server | Large businesses | E-commerce Hosting |
| WordPress Hosting | Blogs & business sites | WordPress Hosting |
| E-commerce Hosting | Online stores | E-commerce Hosting |
| Node.js Hosting | Web applications & APIs | Node.js Hosting |
| Python Django Hosting | Secure web apps | Python Django Hosting |
| Laravel Hosting | PHP applications | Laravel Hosting |
4. Connect Domain to Hosting
After choosing the right domain name and hosting plan, the next step is to connect your domain with your hosting account. This process links your website address with your website files so your site can go live on the internet.
Follow the steps to connect the domain to the hosting
- Copy hosting nameservers
- Go to the domain registrar dashboard
- Open DNS or Nameserver settings
- Replace old nameservers with hosting nameservers
- Save changes
DNS propagation may take 2 to 24 hours.
Read this article to update the nameserver for a domain: How to update Nameserver for a domain
5. Select the Right Website Technology
After completing the domain registration and hosting setup, the next important step is choosing the right technology stack for your website. Many website owners face difficulties at this stage due to a lack of technical knowledge. As a result, they often find themselves confused and asking questions such as:
- Which technology should I choose for my website?
- Should I use WordPress or go with another platform?
If you are also confused about selecting the right stack, you can reach out to us. We will help you choose the most suitable technology based on your website goals and requirements.
Option 1: HTML/CSS (Best for Simple Websites)
Best For
- Portfolio websites
- Landing pages
- Static websites
Technologies
- HTML
- CSS
- JavaScript
Advantages
- Fast loading
- Lightweight
- Full control
- Cheap hosting
Disadvantages
- Manual updates
- No admin panel
- Harder for beginners
Recommended If
You want to learn web development basics.
Option 2: WordPress (Best for Beginners)
WordPress is the world’s most popular website platform.
Best For
- Blogs
- Business websites
- E-commerce
- News sites
Advantages
- Easy to use
- Thousands of themes
- Plugin support
- SEO-friendly
Disadvantages
- Needs maintenance
- Too many plugins can slow websites
Setup Steps
- Install WordPress from hosting panel
- Choose a theme
- Install plugins
- Create pages
- Publish website
Important Plugins
- SEO plugin
- Cache plugin
- Security plugin
- Backup plugin
Option 3: Node.js (Best for Modern Web Apps)
Node.js is popular for scalable and real-time applications.
Best For
- SaaS platforms
- APIs
- Real-time applications
- Custom dashboards
Common Frameworks
- Express.js
- Next.js
- NestJS
Advantages
- Fast performance
- JavaScript everywhere
- Great for APIs
Disadvantages
- More technical
- Requires coding knowledge
Option 4: Python Django (Best for Secure Applications)
Django is a secure and powerful Python framework.
Best For
- Large web applications
- Secure systems
- Business platforms
Advantages
- Secure
- Scalable
- Fast development
- Powerful admin panel
Disadvantages
- More backend-focused
- Requires Python knowledge
Other Popular Options
| Technology | Use Case |
|---|---|
| React | Frontend UI |
| Next.js | Full-stack websites |
| Laravel | PHP applications |
| Shopify | E-commerce |
| Webflow | No-code websites |
6. Create Your Website
After choosing the right technology for your website, the next step is to start building it. This is where your idea begins to take shape.
Begin by creating the most important pages, such as the homepage, about us page, contact page, and other necessary sections based on your website’s purpose. Make sure each page is clear, well-structured, and easy for visitors to navigate.
7. Install SSL Certificate
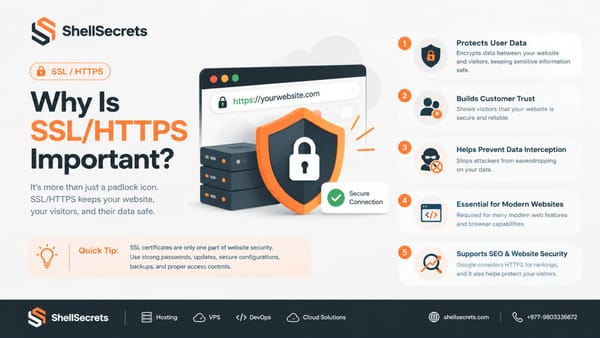
After setting up your website, the next important step is to install an SSL certificate. SSL (Secure Sockets Layer) helps secure the connection between your website and its visitors.
It ensures that all data shared on your website is encrypted and protected from unauthorized access. Once SSL is installed, your website will start with HTTPS instead of HTTP, and a padlock icon will appear in the browser.
This not only improves security but also builds trust with your visitors and helps improve your search engine ranking.
Without SSL:
- Browsers show “Not Secure”
- SEO ranking may decrease
With SSL:
- Better security
- Better trust
- Better SEO
Free SSL Providers
How to Install SSL
Most hosting providers offer 1-click SSL installation.
Steps:
- Open hosting dashboard
- Go to SSL section
- Activate SSL
- Force HTTPS redirection
8. Set Up Professional Business Email
A professional business email is very important for every website and business. It helps increase trust, accountability, and credibility among your customers and visitors.
Using a custom email like info@yourdomain.com looks much more professional compared to a free email address. It also strengthens your brand identity and makes your business appear more reliable.
We have already discussed Professional Business Email in a previous article. Don’t forget to read it: Professional Business Email vs Free Email: Why Professional Business Email Matters.
9. Optimize Website for SEO
SEO helps your website rank on search engines.
We have already discuss SEO Related in other articles. Don't forget to read SEO
Basic SEO Checklist
- Add page titles
- Write meta descriptions
- Use proper headings
- Optimize images
- Create sitemap
- Submit website to search engines
Important Tools
10. Launch Your Website
Before going live, test everything.
Final Checklist
✅ Mobile responsive
✅ SSL enabled
✅ Contact form working
✅ Fast loading speed
✅ SEO basics completed
✅ Backup system active
✅ Professional email working
Once ready:
- Publish website
- Share on social media
- Submit to search engines
Recommended Setup for Beginners
| Goal | Recommended Stack |
|---|---|
| Simple Website | WordPress |
| Portfolio | HTML/CSS |
| Startup SaaS | Node.js |
| Secure Business App | Django |
| Online Store | WordPress + WooCommerce |
Common Mistakes to Avoid
- Choosing very cheap, unreliable hosting
- Using too many plugins
- Ignoring backups
- Not enabling SSL
- Poor mobile design
- Slow website speed
- Weak passwords
Final Thoughts
Launching your first website is easier than ever today. Start with the basics:
- Register a domain
- Buy hosting
- Choose the right technology
- Build your website
- Secure it with SSL
- Set up a professional email
- Optimize for SEO
- Launch confidently
The best approach is to start simple and improve gradually as your website grows.